|
|||
| We were
fortunate to have had a tremendous response from our
friend Bob Oldham - the "man who wrote the book" about
North American Hand Presses. Bob has reassembled seven
Washington Hand Presses to date and actually has one
like the one we're dealing with here. Below are the
notes he shared with us. |
|||
|
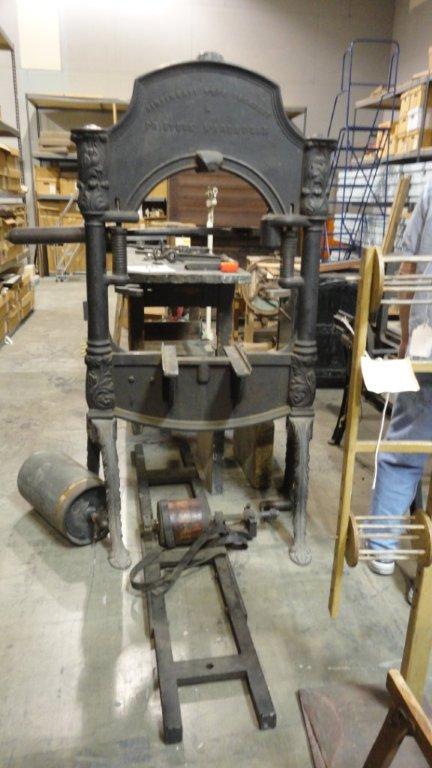
Reassembling the Cincinnati Type Founders Washington hand press by Robert Oldham,
author of A Field Guide to North American Hand
Presses
image to the right: CTF
Washington hand press frame and bed rails with
rounce Begin assembly by deciding where you want to put the press and in what orientation. Assuming this site is on the same floor level on a relatively smooth floor, and using a hydraulic shop floor crane and a length of heavy nylon web truckers tie-down strap as a sling, lift the press frame off the legs, stabilize it to the crane, and roll the crane into the chosen position. Replace the legs on the frame, ensuring they are right way around, and if the locking wedges have been kept, lock the legs onto the frame, then lower the frame to the floor slowly, ensuring that the legs are straight and all four feet are on the floor.  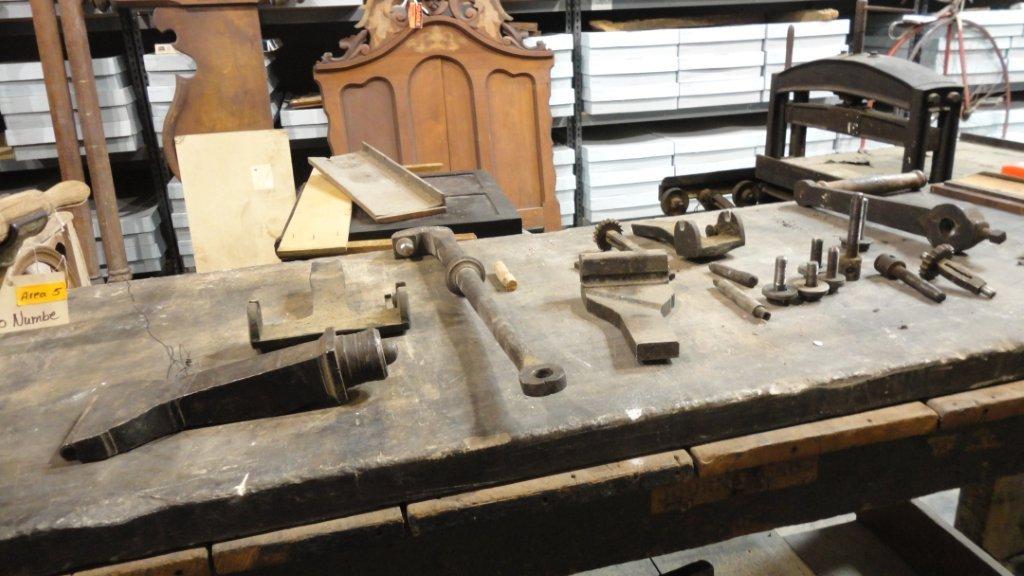
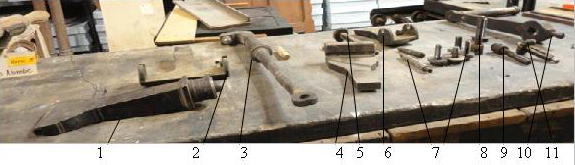
Parts
shown above (from left to right) 1 � lower
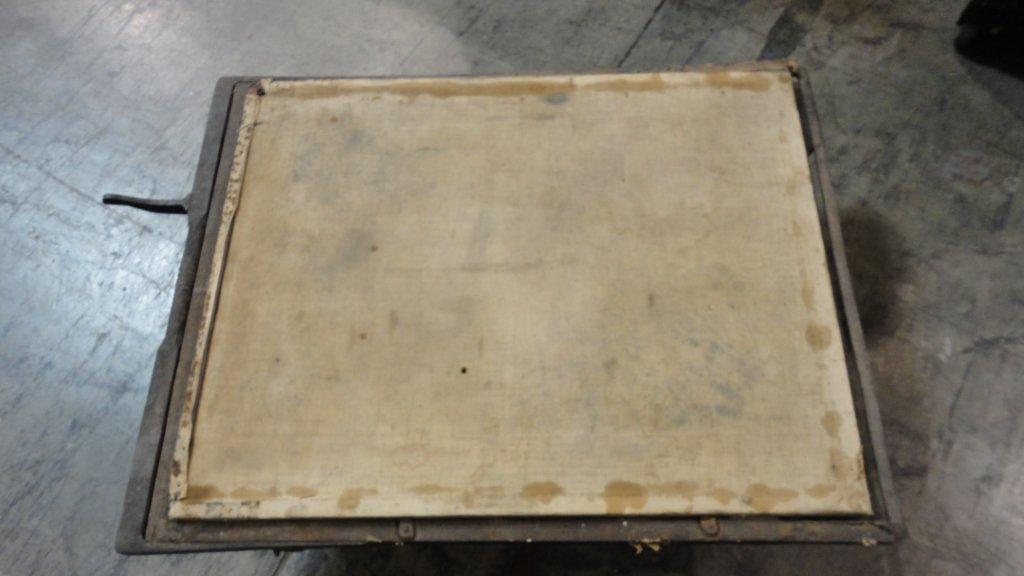
piece of toggle reassembly (continued) After the press frame is in place, install the rails, with the rounce barrel and crank. The rails are narrower at one end, with a hole in the middle of the cross brace at that end. That end goes into the supports on the frame with the other end extending to the front of the press and the hole aligned with the threaded hole between the rail supports. Install the rail retaining bolt loose, then install the forestay, and using a carpenter�s lever, level the rails by adjusting the forestay nut. Tighten the rail retaining bolt snug but not too tight. Put some 90-wt gear oil or chain saw bar and chain oil in the two troughs of the rails, using just enough oil so the level is slightly below the surface of the raised segments in the rails, with a couple of drops of oil on each raised segment. Remove the tympan and frisket assembly from the bed and set the bed of the press on the rails with the tympan hinge at the outer (front) side, and slide it back and forth until it moves smoothly and easily. Measure the vertical distance from the bed surface to the underside of the platen support brackets hanging from the springs. Measure the thickness of the platen at the point where the bolt holes are, and subtract this thickness from the first measurement. Select four blocks of wood each about � inch less than the resulting measurement and put them at the four corners of the bed. Carefully set the platen on the blocks, noting the orientation if marked (some CTF presses have one end of the platen labeled �FRONT�). Slide the bed with the platen on it into the frame until the bolt holes are below the support brackets and install the four platen support bolts. Screw each bolt down until the head is just touching the bracket, and when all bolts are at that level, give each bolt one turn at a time, repeating until the brackets are snug against the platen and the platen has been lifted off the blocks. Then tighten the bolts firmly but not excessively. Install the toggle hook on the bar with the pin as the pivot. Oil all the joints of the bar and hook, as well as the cup in the platen and the bearing surfaces of the toggle pieces. Then hold the lower part of the toggle with the round end in the cup, place the upper toggle piece on top of the lower with the bearing rods engaged and the upper piece on the side of the lower piece away from the bar, tilt the upper piece until the top of it can fit onto the bearing on the lower edge of the head, and close the toggle so it rests in that position. Using a large crescent wrench, adjusted to fit snugly over the lower edge of the extension of the upper part of the toggle, as a lever, press down and close the toggle enough to enable you to engage the round end of the hook in the depression on the back side of the upper toggle piece lower extension. Release the pressure of the crescent wrench lever and ensure that the toggle remains engaged with the bar hook. Install the two girt clamp pieces in the front and back of the bed. The wider one can be at the outer (front) end and the narrower one at the inner (back) end, if they fit that way (there may be a difference in the width of the end of each that fits into a slot on the bed). Nail one girt strap to the middle of the top side of the rounce barrel with the loose end toward the small girt clamp, and nail the other two girt straps, one on either side about � inch away from the first, with their ends opposite the first. Move the bed to one end of the rails, stretch the girt(s) facing that end from the top of the barrel to the girt clamp, thread it through the slot with some slack, and turn the ratchet to tighten it a little. Using the rounce, move the bed to the other end of the rails, then stretch the remaining girt(s) to the other clamp and adjust the slack as before.
Install the tympan and frisket assembly on the bed and you should be ready to begin printing.
 For further information about
North American Hand Presses, we recommend
Robert Oldham's Field Guide to North American Hand Presses, available for $15 from Amazon.com or from our Fundraising Page |
|||
|
~~~~~~~~~~~~~~~~~~~~~~~~~~~~~~~~~~~~~~~~~~~~ |
 "I suggest that
you
decide if you want to paint the press, and if so do the
painting
before assembly so as to ensure that all areas are
painted. It may
also be easier to accomplish the careful painting of the
bas-relief
details of the press before assembly.
"I suggest that
you
decide if you want to paint the press, and if so do the
painting
before assembly so as to ensure that all areas are
painted. It may
also be easier to accomplish the careful painting of the
bas-relief
details of the press before assembly.